How to Manage QuickBooks Desktop User Roles & Permissions
In QuickBooks Desktop Pro and Premier versions, the Admin user (Administrator) can set up and edit user permissions. The Admin user is the one who initially creates the company file and assigns access levels to other users.
The Admin user has full access to all features and can manage user permissions, including:
- Creating, editing, or deleting users
- Assigning roles and specific access permissions
- Granting or restricting access to areas such as reports, transactions, and lists
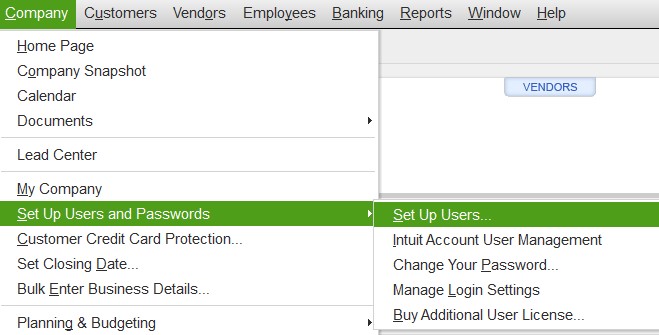
To set up user permissions, go to the Company menu, select Set Up Users and Passwords, and then choose Set Up Users. In order to access this area, you will need to enter the Admin password in the security box that opens.

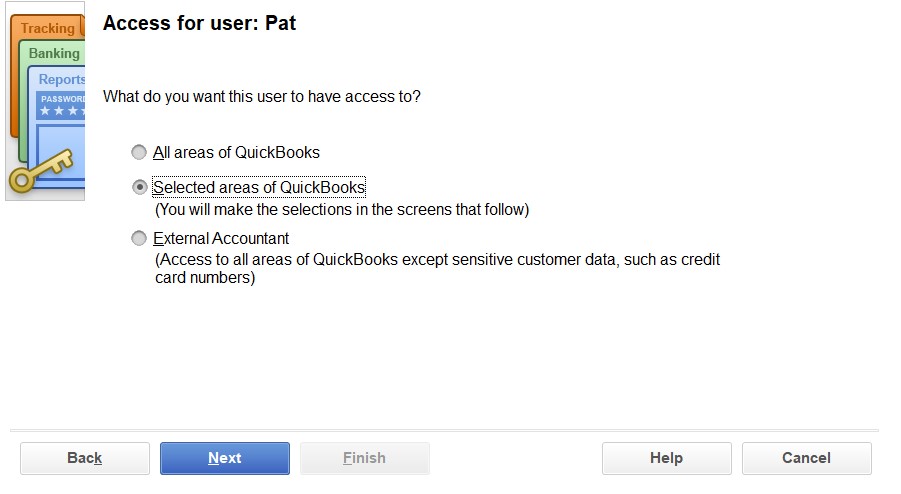
For each area, you can assign one of the following access levels:
- No Access
- Full Access
- Selective Access (with options to create, print, and generate reports related to the area)

If you choose to grant limited access, you will be editing permissions for the following areas in QuickBooks Desktop (Pro & Premier):
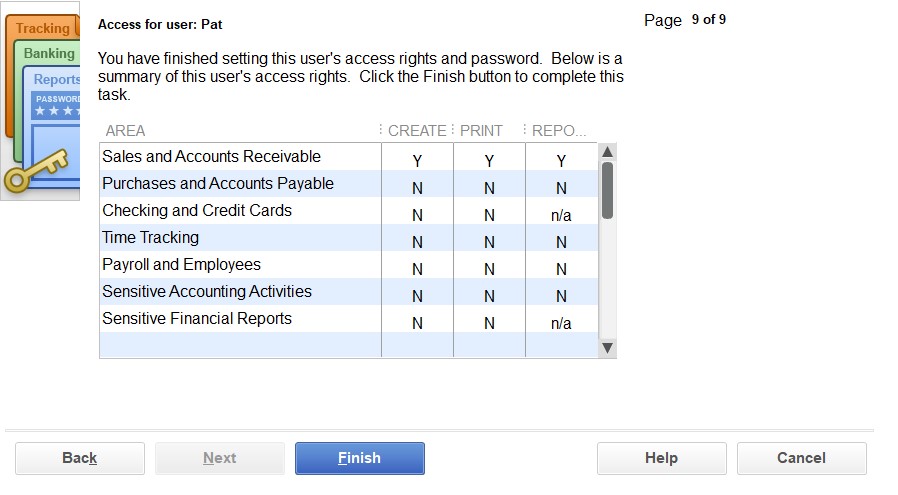
- Sales and Accounts Receivable
- Purchases and Accounts Payable
- Checking and Credit Cards
- Time Tracking
- Payroll and Employees
- Sensitive Accounting Activities
- Sensitive Financial Reporting
- Changing or Deleting Transactions
After editing the user permissions, a summary window will display the permissions you’ve assigned. Review this carefully. If any changes are needed, click the Back button. If everything looks correct, click the Finish button.

Using the Set Up Users and Roles option under the Company menu, you can customize each user’s access to ensure they only have the permissions necessary for their role within the organization.
