Customize QuickBooks Online Invoices for Your Brand (Easy Guide)
Invoices aren’t just bills. They’re a reflection of your business. A clean, well-branded invoice can leave a strong impression on your clients. Thankfully, it is easy to customize QuickBooks Online invoices so they look and feel like an extension of your brand.
Why Branded Invoices Matter
Think of your invoice as a business card that gets sent with every sale. When it’s clearly tied to your brand, it reinforces trust and professionalism. Your logo, brand colors, and tone all work together to create a more cohesive and memorable customer experience.
Where to Find Invoice Customization Tools
To get started, follow these steps:
- Click the Gear Icon in the upper right corner.
- Under “Your Company,” select “Custom Form Styles.”
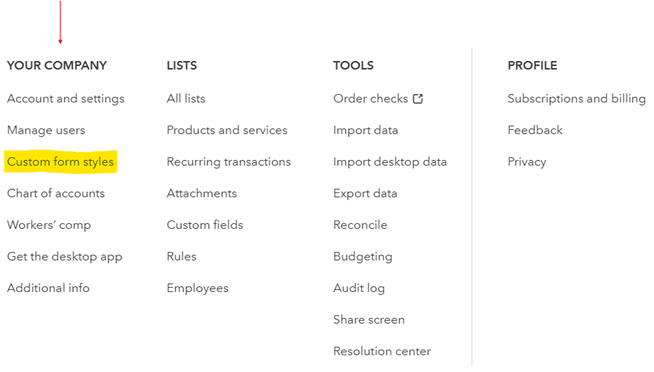
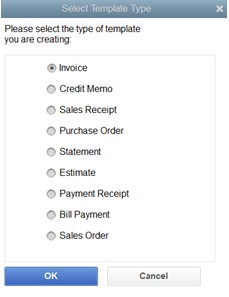
- Click the “New Style” button and choose “Invoice.”
This is where you’ll set the foundation for a customized, polished invoice.
Step-by-Step: Customize Your Invoice Template
Choose a Style (Change up the template)
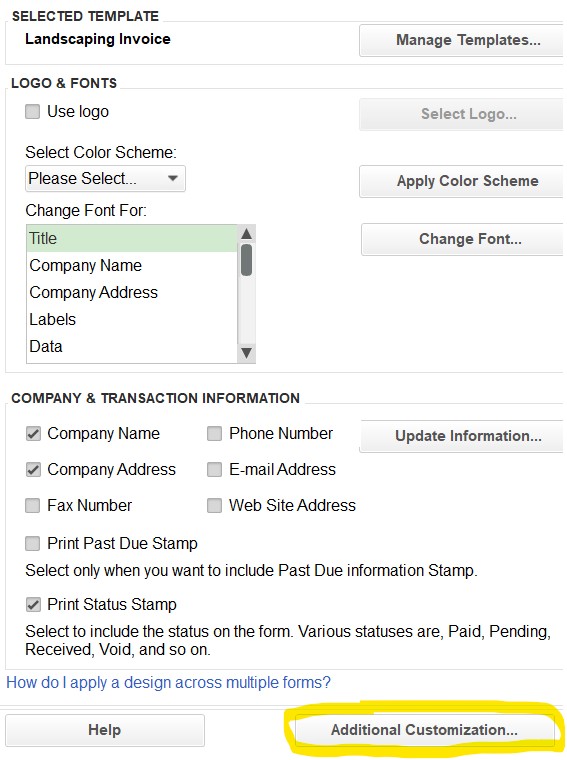
QuickBooks gives you a few layout options: Modern, Friendly, and Airy. These change how information is displayed. Pick the one that feels most like your business.
Add Your Logo (Make logo edits)
Upload your logo directly into the template. Make sure it’s clear and high-quality. A PNG with a transparent background usually looks best.
Set Your Brand Colors (Splash on some color)
You can customize the colors used in the header, table lines, and footer. Use your brand’s colors to keep things consistent with your website or social media. If you know your brand’s exact color codes (called hex codes), you can type them in to get a perfect match.
Adjust Fonts and Labels (Get choosy with your font)
You’ll also have the option to change fonts and rename fields. For example, instead of “Due Date,” you might write “Please Pay By.” This small change adds personality and makes your invoice feel less generic.
Edit the Message Section
Under the Content tab, you can edit the message to the customer. You can use this area to add a personal thank-you, payment instructions, or even your business’s tagline. This section is helpful for reinforcing your tone, whether it’s warm, casual, or highly professional.
You can also add text to your footer if needed.
Preview and Test Before Sending
Always preview your invoice before sending it out. Email a test version to yourself so you can review it on both desktop and mobile. Make sure all links, contact information, and formatting look correct.
Create Multiple Styles for Different Needs
You can create and save more than one template. For example:
- One for retail transactions
- One for service-based work
- One with extended terms for recurring clients
Switch between them as needed to suit your audience.
Common Mistakes to Avoid
- Using colors that are too bright or hard to read
- Skipping the logo upload
- Cramming too much info into one field
- Forgetting to update your template when your branding changes
Final Thoughts
A branded invoice might seem like a small detail, but it’s one more way to make your business stand out. Take a few minutes to set it up once, and every invoice after that will do a little more to build trust with your clients.
Need help setting up your QuickBooks templates? Let’s connect

