How to Use the Lead Center in QuickBooks Desktop
When you’re trying to grow your business, not every contact is ready to become a customer. Some people just need more time, more information, or a few follow-ups before they decide. That’s where the Lead Center in QuickBooks Desktop Pro can help.
This handy feature gives you a place to keep track of potential customers without cluttering up your main customer list. It’s especially helpful for service-based businesses or any team with an active sales process.
What Is the Lead Center in QuickBooks Desktop?
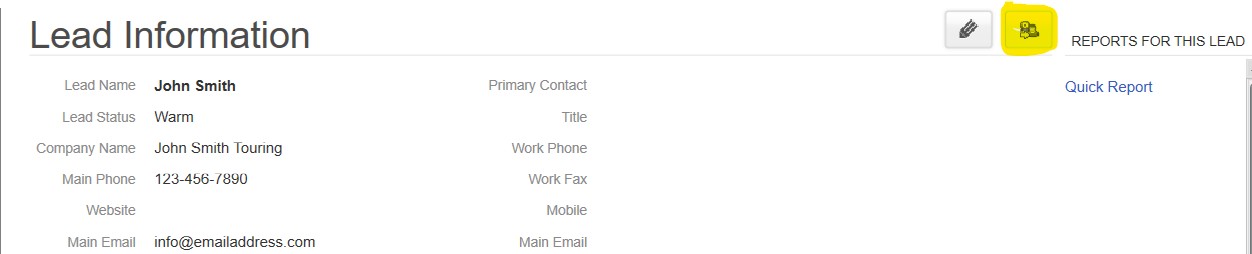
The Lead Center is a built-in feature that lets you manage your prospects separately from your actual customers. Think of it as a waiting room for future clients. You can store their name, contact info, notes, and updates—without them appearing in your main Customer Center.
It’s a great way to stay organized if you get a lot of inquiries that don’t turn into immediate sales.
You’ll find the Lead Center under the “Customers” menu in QuickBooks Desktop.
Adding and Managing Leads: A Step-by-Step Guide
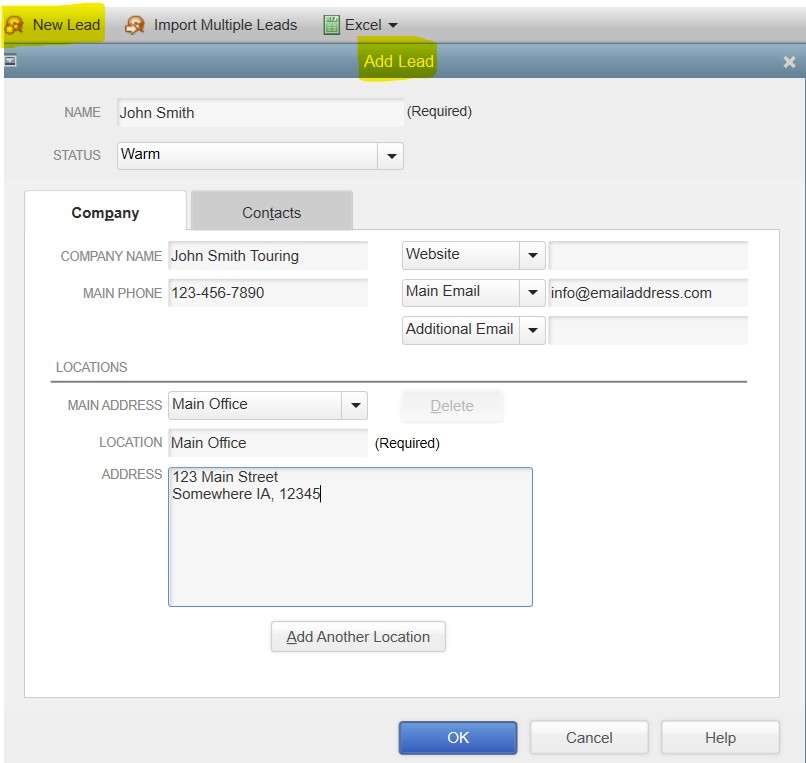
1. Open the Lead Center – Go to the Customers menu and select Lead Center.
2. Add a New Lead – Click the New Lead button. Fill in any basic details you have—like name, phone number, email, or company. You can always add more information later.
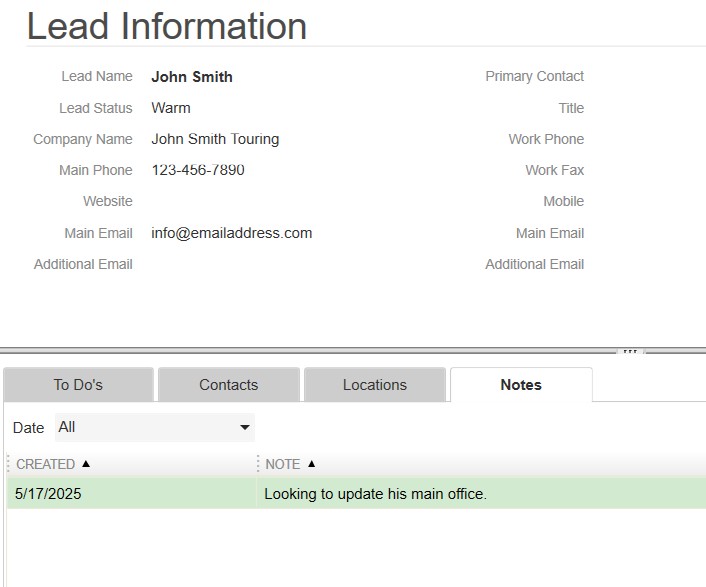
3. Keep Notes and Follow-Up Info – Use the Notes tab to jot down important details, such as where the lead came from, what they’re interested in, or the last time you spoke.
4. Convert to Customer When Ready – Once the lead agrees to work with you, just click Convert to Customer. All the info you entered transfers right into your Customer Center.
Best Practices for Using the Lead Center
- Take good notes: Add reminders, preferences, or anything you learn during your conversations.
- Review regularly: Check the Lead Center weekly or monthly to make sure you’re not missing opportunities.
Real-World Example
Imagine you run a home repair business. You get inquiries through your website, local flyers, or phone calls. Instead of writing everything down on sticky notes, you enter each inquiry into the Lead Center. When someone decides to move forward, one click turns that lead into a customer—and you’re ready to create an estimate or invoice right away.
Final Thoughts
If you’re juggling several prospects at once, the Lead Center can keep your sales process neat and manageable. It gives you one central place to track potential clients without mixing them up with active customers.
Consider giving it a try the next time someone expresses interest but isn’t quite ready to buy. A little organization today could mean more business tomorrow.