Scheduled Reports: What They Are and Why They’re Useful
As a business owner or accounting professional, staying on top of financial data is critical for making informed decisions. QuickBooks Desktop offers a powerful tool to help with this: Scheduled Reports.
Scheduled Reports allow you to automate the delivery of financial reports directly to your inbox—or to your team’s inbox—on a recurring schedule. Instead of manually running and sharing reports every week or month, this feature ensures that your financial information is consistently delivered on time, without any extra effort.
This automation can be helpful for businesses with tight schedules or multiple partners.
To start using this feature, ensure QuickBooks is setup to email reports. To verify, go to Preferences, under the File menu, and select Send Forms. Under the My Preferences tab, click the Add button to setup your email if needed.
Customize Reports
Before scheduling reports to be sent automatically, customize the reports to meet your specific needs.
When you first run a report in QuickBooks, it displays with default settings. To adjust the report, click Customize Report in the upper left corner of the report window. Modify the Display and Filters to include the data you want. Once you’ve finished customizing, click OK to run the report with your updated settings.
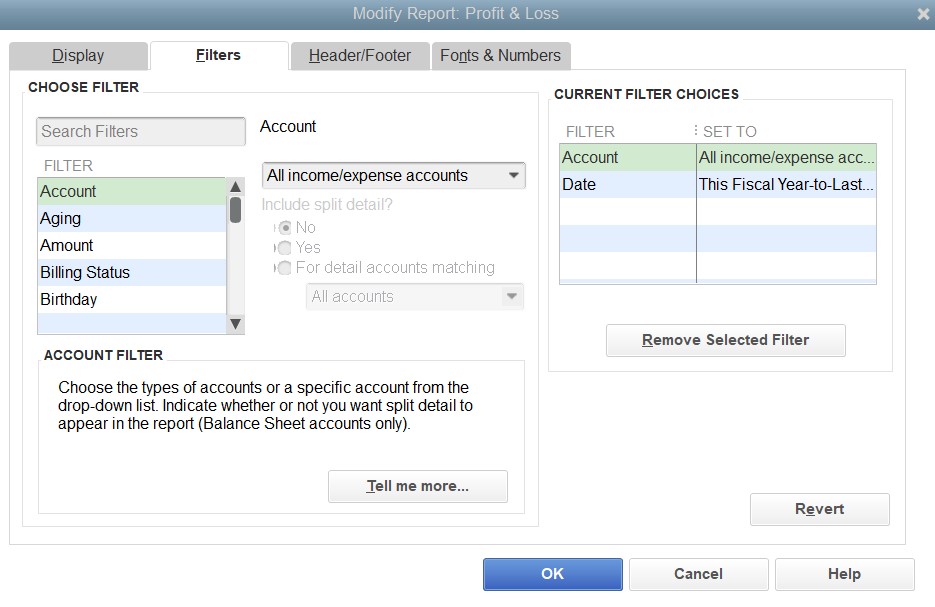
You can customize QuickBooks reports to see just the data you want.
Memorized Reports
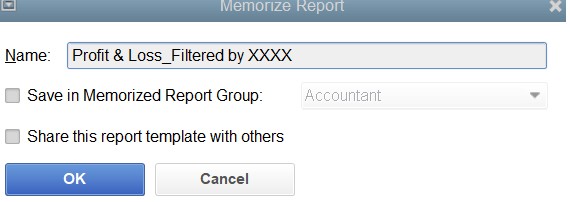
After clicking OK, click Memorize in the toolbar. In the window that opens, enter a descriptive name so you’ll recognize it later. If you want to save the report to a group (optional), check the box and select a group from the menu, such as Company or Customers, etc. Click OK to save your changes.
To find a memorized report, open the Reports menu and highlight Memorized Reports. Find your report in the list and click on it.
Scheduled Reports
Access the schedule reports by going to the Reports menu, select Scheduled Reports, and Schedule Setup. The following window will open:

Click Get Started then setup the schedule frequency (weekly, monthly, etc.) and delivery method. Save the schedule and confirm it is active.
Additional Notes
While this feature can save time if you frequently email reports, keep the following points in mind:
- QuickBooks Desktop needs to be open at the time reports are scheduled to run.
- If you need slightly different reports or need to send emails to various recipients, you will need to setup multiple customized reports and email templates.
- If a report is scheduled without regular review, there is a risk of sending out outdated or incomplete information.
- There are potential security risks, such as issues with encryption (consult your IT or email provider) and the risk of emailing sensitive financial data.
By understanding these limitations, you can take proactive steps to mitigate risks and ensure Scheduled Reports work effectively for your business. If these drawbacks are a concern, consider alternative third-party solutions to assist you in sending out scheduled reports.